Aged Elegance: How to Tea Stain Paper and Unleash Your Creativity!
Step into the world of vintage charm and creativity as we explore the fascinating art of tea staining paper. Whether you're a seasoned artist, a crafting enthusiast, or simply someone seeking to add a touch of antiquity to your creations, tea staining is an easy and enjoyable technique that will instantly transport your projects back in time.
Join us on this tea-stained journey and discover the secrets to achieving that beautiful aged elegance in just a few simple steps.

Step 1: Gather Your Materials To get started, you'll need the following items:
- Regular white paper or parchment paper (printer paper works just fine!)
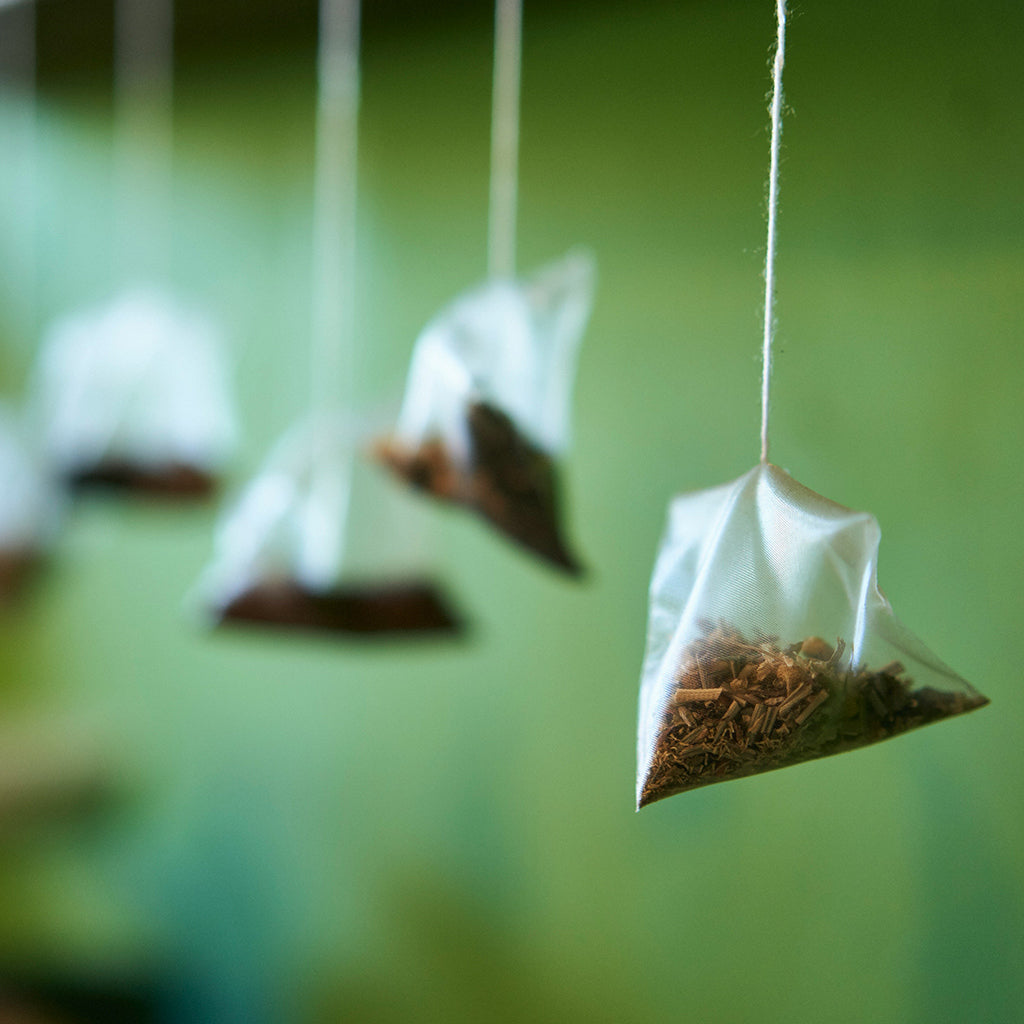
- A selection of tea bags (black tea, green tea, or even herbal teas can work wonders)
- A shallow dish or tray (big enough to fit your paper)
- Boiling water
- Optional: essential oils (such as cinnamon or vanilla) for a delightful aroma
Step 2: Choose Your Tea Blend
The tea you select will influence the final color and tone of your stained paper. Black tea tends to produce a warm, sepia-like hue, while green tea offers a more delicate and aged appearance. Herbal teas may provide unique tints, so don't hesitate to experiment and find your favorite!
Step 3: Brew Your "Stain Bath"
Steep a few tea bags in a bowl of boiling water, allowing them to release their color and flavor. The longer the tea bags steep, the darker the stain will become. For subtle tints, leave them for around 5 minutes; for richer hues, let them sit for up to an hour.

Step 4: Test and Dry
Before dipping your precious paper into the stain bath, consider testing the tea's intensity on a spare sheet. This way, you can adjust the brewing time to achieve the desired shade. Once satisfied, lay the paper flat on a drying rack or any flat surface to dry completely.
Step 5: Experiment with Tea Splatters
For a more organic and rustic appearance, try splattering the tea stain on your paper using a brush or toothbrush. This technique creates beautiful, random patterns that mimic natural aging.
Step 6: Double Dipping and Layering
Don't be afraid to get creative by double-dipping or layering your tea-staining process. Experiment with different tea blends, drying times, and even adding a touch of essential oil to enhance the effect. The possibilities are endless!

Step 7: Iron the Paper (Optional)
If you want your tea-stained paper to lie flat and crisp, lightly iron it using a low heat setting. Be sure to place a thin cloth between the iron and the paper to avoid damaging it.
Congratulations! You've unlocked the magical world of tea-stained paper, where creativity meets timeless elegance. From vintage-inspired greeting cards to antique-looking art pieces, the applications of tea-stained paper are only limited by your imagination. So, gather your materials, steep your tea, and let your creativity flow as you embark on this delightful journey back in time. Happy tea staining!